
Notice
Recent Posts
Recent Comments
Link
| 일 | 월 | 화 | 수 | 목 | 금 | 토 |
|---|---|---|---|---|---|---|
| 1 | 2 | 3 | ||||
| 4 | 5 | 6 | 7 | 8 | 9 | 10 |
| 11 | 12 | 13 | 14 | 15 | 16 | 17 |
| 18 | 19 | 20 | 21 | 22 | 23 | 24 |
| 25 | 26 | 27 | 28 | 29 | 30 | 31 |
Tags
- 가로세로세팅
- 3
- zoom
- 토토이크 떠돌이상인
- 이름바꾸기
- 유튜브
- 한글
- SI
- 홈페이지제작견적
- 로헨델 떠돌이상인
- https
- sm
- IT용어
- SSL
- PIP모드
- 작은화면
- 특정페이지가로로
- 아르데타인 떠돌이상인
- 베른 떠돌이상인
- 루테란 떠돌이상인
- 애니츠 떠돌이상인
- HWP
- 슈샤이어 떠돌이상인
- SE
- 욘 떠돌이상인
- 페이튼 떠돌이상인
- 파푸니카 떠돌이상인
Archives
- Today
- Total
도담도담
게시글에 이미지 저장시켜서 올리기 본문
게시글에 이미지 저장시켜서 올리기
이미지 파일을 올려서 폴더와 DB에 저장 시키고
나중에 다시 그 저장시킨 이미지를 불러오는 방법이다.
리뷰를 하는 게시글을 만드는 과정이다.
<!DOCTYPE html>
<html lang="en" xmlns:th="http://www.thymeleaf.org" xmlns:sec="http://www.thymeleaf.org/extras/spring-security">
<head>
<meta charset="UTF-8">
<title>리뷰 수정</title>
</head>
<body>
<main class="review_cover">
<section class="review_section">
<form action="/detail/reviewWrite" method="post" enctype="multipart/form-data">
<div class="review_content">
<ul>
<h2>리뷰 작성</h2>
<li class="review_text">
<span class="r_rating">
<span class="input">
<input type="radio" name="r_rating" id="p1" value="1"><label for="p1">1</label>
<input type="radio" name="r_rating" id="p2" value="2"><label for="p2">2</label>
<input type="radio" name="r_rating" id="p3" value="3"><label for="p3">3</label>
<input type="radio" name="r_rating" id="p4" value="4"><label for="p4">4</label>
<input type="radio" name="r_rating" id="p5" value="5" checked><label for="p5">5</label>
</span>
<br>
<textarea id="r_content" name="r_content" style="resize: none"></textarea>
</span>
<input type="hidden" id="content_id" name="content_id" th:value="${dto.content_id}">
<input type="hidden" name="contentType" th:value="${dto.contentType}">
<input type="hidden" id="title" th:value="${dto.title}">
<input sec:authorize="isAuthenticated()" type="hidden" name="username" id="username"
th:value="${#authentication.principal.member_tbl.username}">
<input sec:authorize="isAuthenticated()" type="hidden" name="name" id="name" th:value="${#authentication.principal.member_tbl.name}">
</li>
</ul>
<ul>
<li>
<div id="image_container"></div>
</li>
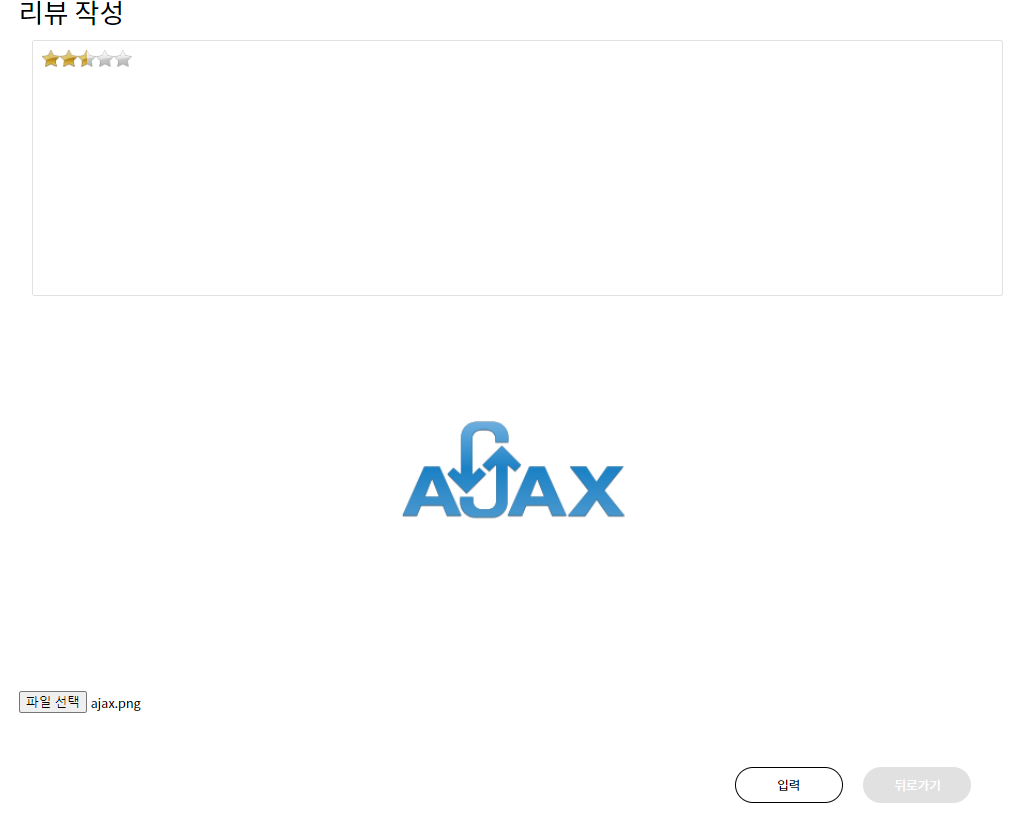
<li class="select_file">
<input type="file" id="image" name="imageFile" accept="image/*"
onchange="setThumbnail(event);"/>
<script> function setThumbnail(event) {
var reader = new FileReader();
reader.onload = function (event) {
var img = document.createElement("img");
img.setAttribute("src", event.target.result);
document.querySelector("div#image_container").appendChild(img);
};
reader.readAsDataURL(event.target.files[0]);
}
</script>
</li>
</ul>
<ul class="review_btn">
<li><input value="입력" class="subtn" type="submit">
<input class="subtn" type="button" onclick="history.back()" value="뒤로가기">
</li>
</ul>
</div>
</form>
</section>
</main>
</body>
</html>
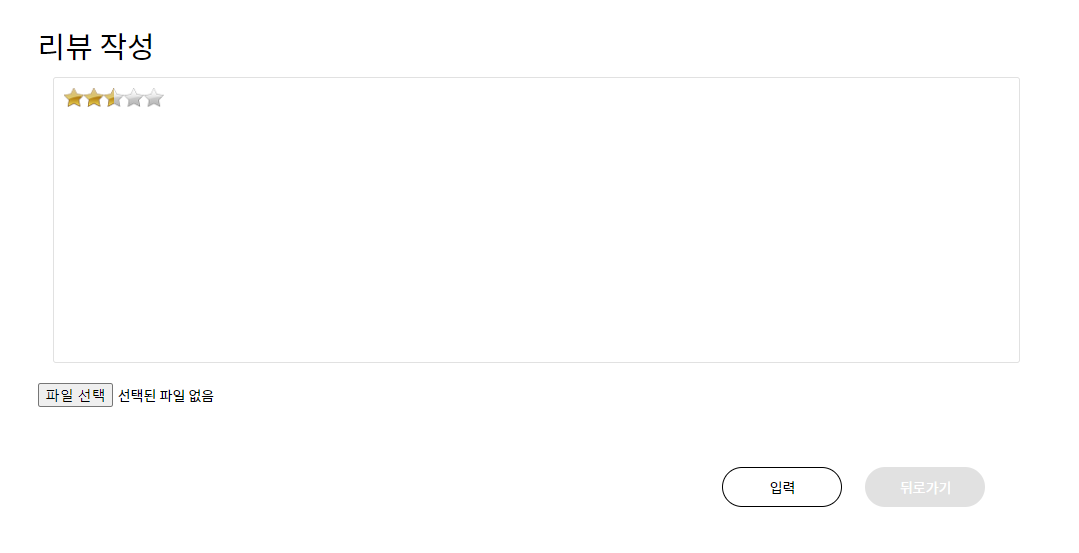
CSS 나 JS 내부까지 나타내지는 않았지만 결과적으로 얼핏 아래와 같은 화면으로 나오게 된다.
내용을 받는 컨트롤러는 아래의 과정을 통해
이미지의 이름을 날짜와 시간까지 확인하여 등록함으로써,
이미지의 이름이 겹치지 않게 DB에 저장시켜 준다.
@PostMapping("/reviewWrite")
    public String reviewWrite(HttpServletRequest request, ReviewDTO dto, RedirectAttributes redirectAttributes, String contentType, MultipartFile imageFile, String firstimage2){
        System.out.println("dto 값 확인 : " + dto.getContent_id());


        Date date = new Date(System.currentTimeMillis());

        SimpleDateFormat format = new SimpleDateFormat("yy-MM-dd-HH-mm-ss-SS");
        String time = format.format(date);

        MultipartFile mf = imageFile;

        String path = "c:\\upload\\test\\";
        String uploadPath = "";

        String original = time+"__"+ mf.getOriginalFilename();

        uploadPath = path + original;
        if(mf!=null){
            try {
                mf.transferTo(new File(uploadPath));
            }catch (Exception e){
                System.out.println(e.getMessage());
            }
        }
        dto.setImage(original);
        service.reviewWrite(dto);
        redirectAttributes.addAttribute("content_id", dto.getContent_id());
        redirectAttributes.addAttribute("contentType", contentType);
        redirectAttributes.addAttribute("firstimage2", firstimage2);

        return "redirect:/detail/realDetail";
    }
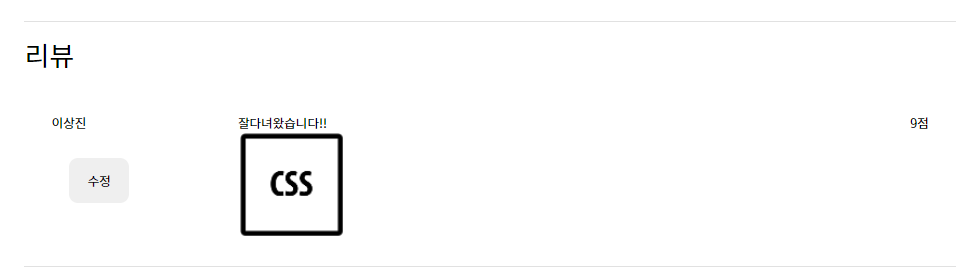
게시글이 작성된 이후 아래와 같은 방식으로
이미지 파일을 다시 읽어서 나타내기로 한다.
        <div class="review">
            <h2>리뷰</h2>
            <ul th:each="list : ${reviewList}">
                <li class="review_user">
                    [[${list.name}]]
                    <a sec:authorize="isAuthenticated()"
                       th:if="${#authentication.principal.member_tbl.username} == ${list.username}"
                       th:href="@{/detail/modifyReview(r_num = ${list.r_num}, content_id = ${list.content_id}, contentType = ${dto.contentType}, firstimage2 = ${dto.firstimage2})}">
                        <button type="button" class="review_btn" >수정</button>
                    </a>
                </li>
                <li class="review_content">
                    [[${list.r_content}]]
                    <img th:src="@{/detail/download(image=${list.image})}" width="120" height="120" onerror="this.style.display='none'">
                </li>
                <li class="review_rate" th:text="${list.r_rating} + 점"></li>
            </ul>
        </div>
저장된 이미지를 불러오기 위해서 아래와 같은 과정을 통해 절대경로로 설정된
폴더 내에 저장되는 이미지를 DB에 저장된 이름과 매칭하여
화면으로 불러들여온다.
@GetMapping("download")
    public ResponseEntity<Resource> download(String image) throws IOException {
        Path path = Paths.get("C:\\upload\\test\\" + image);
        //이 부분을 파일 이름을 받아와서 그 이름으로 DB에서 찾아올수 있도록 해야함


        String contentType = Files.probeContentType(path);

        HttpHeaders headers = new HttpHeaders();
        headers.add(HttpHeaders.CONTENT_TYPE, contentType);

        Resource resource = new InputStreamResource(Files.newInputStream(path));
        return new ResponseEntity<>(resource, headers, HttpStatus.OK);
    }
진행 순서
1. 업로드 진행
2. C:\uplaod\test 라는 폴더에 업로드 (및 DB에도 저장)
3. 그러면 우리가 업로드한 파일 이미지를 보고 싶다면?
- 다운로드를 구현하고, 다운로드 Controller를 호출하면 됨
- 즉, 다운로드 컨트롤러에 파일 이름을 보내주고, 파일에 따른
정보만 컨트롤러가 다운로드 형태로 구현되면 됨
'IT 공부 > KH 정보교육원' 카테고리의 다른 글
| 페이지 맨 위로 올리기 버튼 (0) | 2021.08.09 |
|---|---|
| 모달(modal) 사용하여 로그인창 만들기 (0) | 2021.08.03 |
| 파이널 프로젝트 시작 (0) | 2021.07.14 |
| 쿼리메서드 (0) | 2021.07.10 |
| Thymeleaf 레이아웃 (0) | 2021.07.09 |
'IT 공부/KH 정보교육원' Related Articles
more

Comments